Home
About Us
Products
Where to Buy
Resources +
Materials & Quality
Wall & Furniture Covering Applications
Installation
Galleries
What's New
FAQs
Testimonials
Contact Us
Home
Products
Products
Click a link below to view more information about our products:
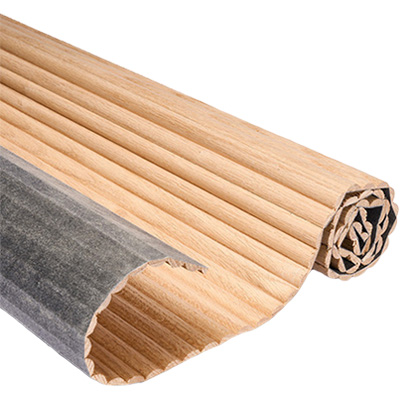
Pole-Wrap
Pole-Wrap Extension
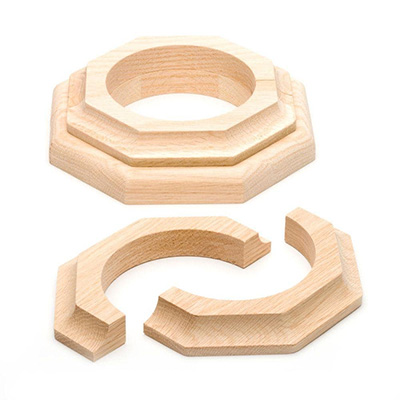
Cap & Base Set
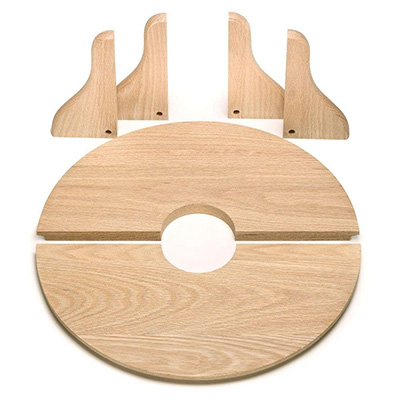
Drink Shelf
Half Round-Profile
Copyright © 2026 Pole-Wrap® is a registered trademark of Pole-Wrap, Inc. Michigan
A
Rockford Website Design
Creation
Lally Column Wood Wraps
Sitemap
Decorative Basement Pole Covers